
Book Protection Tutorial!
1:10 PM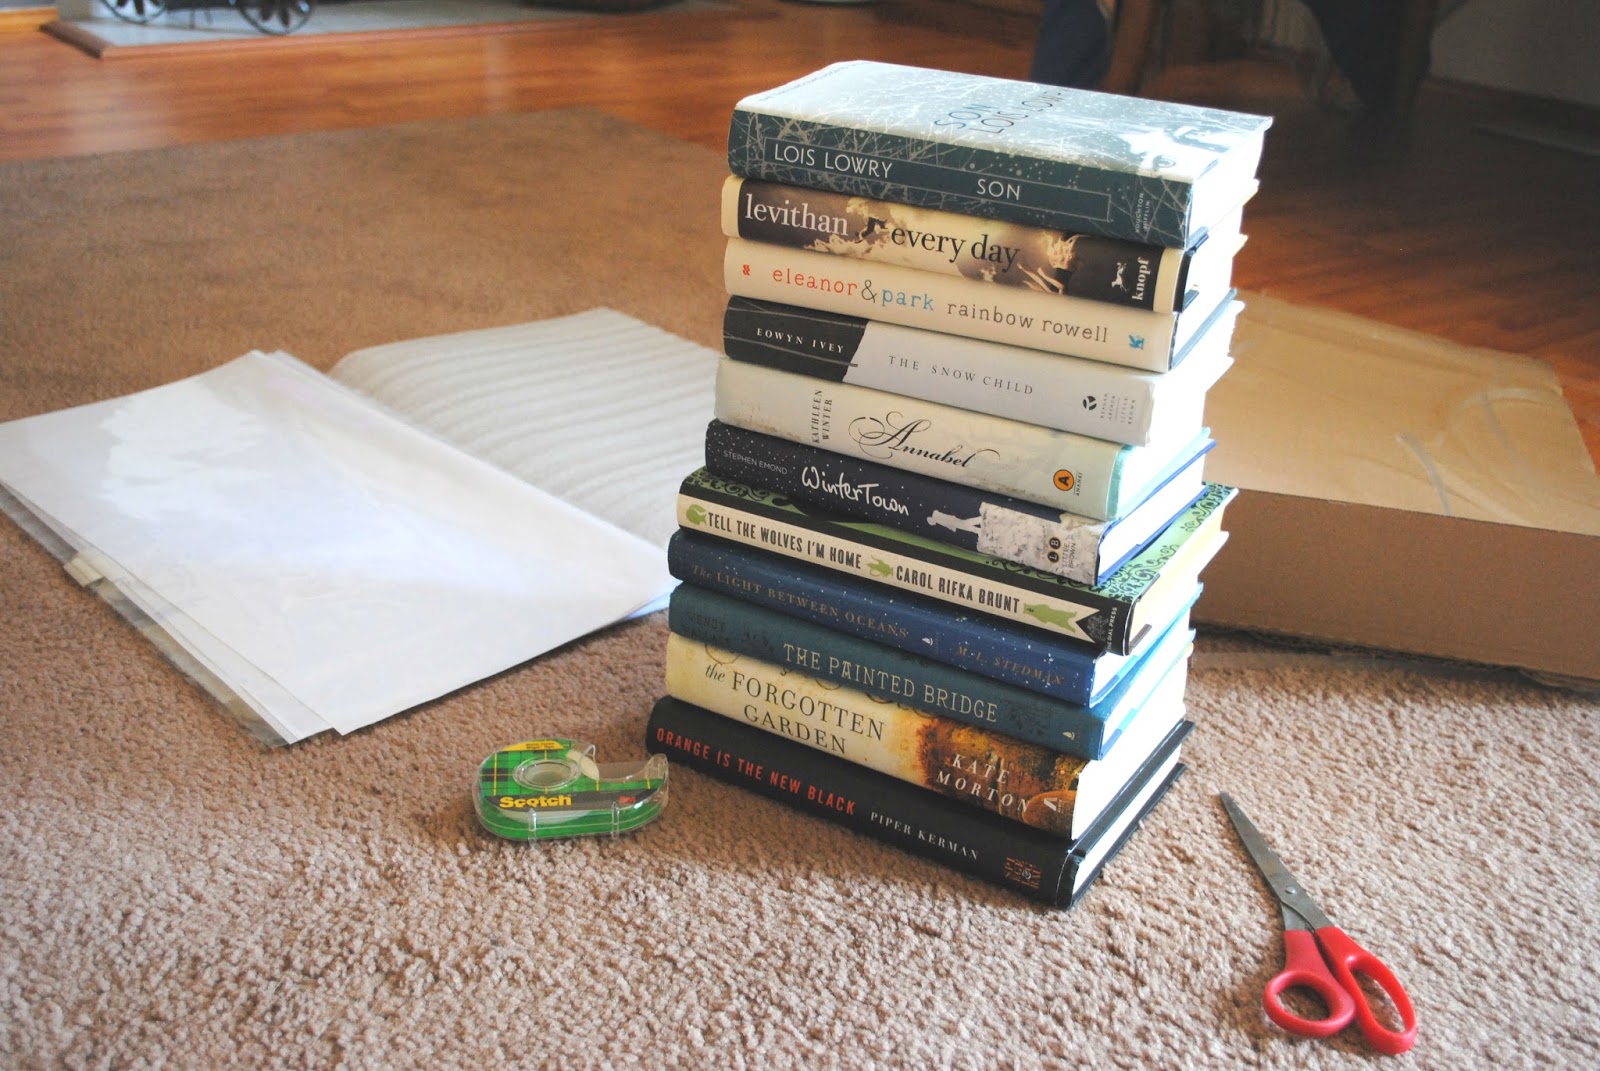
Hello Internet!
This morning, I received a long-awaited package on my doorstep. I immediately knew what it was and, grabbing the package, I dashed back into the house and opened up my... plastic dust jacket protectors! What are they, you may ask? You know how, at the library, all of the books are usually bound and covered in plastic? It's the same thing and it's a really great way of protecting your books from wear and tear over the years, keeping them long-lasting and just as beautiful as the day you got them. So, since my dust jacket protectors came in this morning, I thought it would be a neat idea to make a tutorial post for all book lovers out there, teaching you how to protect your own books with these handy things!
What You'll Need:

Okay, so first you'll need a stack of unprotected books, with their original dust jackets (the removable paper cover). Or you could just use one book for now, but I think "a stack of books" has a nice ring to it. Plus, I clearly have a lot of books that have been sitting on my shelf for some time with unprotected dust jackets. Anyway, you got your book(s)? Great!

Next, you'll need some tape. I just used regular Scotch tape, but I'm sure there's other higher-quality tape that you could use if you so choose. This is just all I had at the moment.
(You may or may not also need scissors, but more on that later!)

And most important of all, you'll need something to cover your dust jackets with. The ones I'm using in this tutorial are from Demco, which is a great website with endless office and library supplies. At first, scrolling through the book protection section, it can appear very overwhelming because there are SO many different types and variations of book protection supplies, and different measurements to choose from. I've always used these dust jacket protector sheets that come in 25, 50, or 500 (!) counts and measure at 10'' height x 21'' width, and they've always worked well for me. They fit an array of different book sizes (with the possibility to trim them to size with scissors), and perhaps best of all, the process to bind them to your books is pretty simple. Maybe someday I'll browse around the website and try out different ones, but for now I'm pretty satisfied with these ones.
* Just to clarify: This tutorial is only for hardcover books. They do have paperback options for book protection on Demco, but I have yet to try these ones yet.
Okay, So Now Let's Get To the Step-By-Step Process:
Now, the carpet is nice, but we're probably going to need to move somewhere with plenty of counter space and set up our station:

Step 1: Situate the protective sheet so that the paper is on the bottom and the plastic sheet is on the top, with the tab facing you.

Step 2: With the tab, flip the plastic sheet over and lay out flat while the paper part is exposed in front of you, like so:


Step 3: Get your book, remove the dust jacket, and lay it out on top of the paper, face-up.
 |
| For this demonstration, I'm using David Levithan's young adult novel, Every Day (which I highly recommend!) |

Step 4: Pull the plastic back over so that it is now covering the dust jacket, and the dust jacket is now sandwiched in between the paper and the plastic. Smooth out flat.

Odds are, you're also going to have a little bit of extra sheet left over on the bottom, so you'll want to fold that over to the other side as well. This can be a bit tricky and is the most complicated step because you need to make sure to keep hold of the plastic sheet tightly to ensure that the dust jacket stays in place and doesn't move around in the flipping-over process. Further, you need to keep the dust jacket in place long enough to tape the plastic down on the other side, again making sure it's nice and tight.
 |
| Grab hold of the end of the plastic sheet, along with any excess paper... |
 |
| ... and fold the sheet and extra paper to the underside, making sure to pull them both nice and tight. |
 |
| And finally, tape it down! |
Now For Some Tidying Up:
It's very possible that, once you're finished and have put the dust jacket on, that you'll have some excess paper on the side flaps, like so:
 |
| Thankfully, this didn't have too much extra paper. There can be a lot more, depending on the dust jacket. But let's get rid of this anyway. |
All that needs to be done is to take some scissors and carefully cut the excess paper, along with the plastic.

And voila (again!)
Here is the finished product:
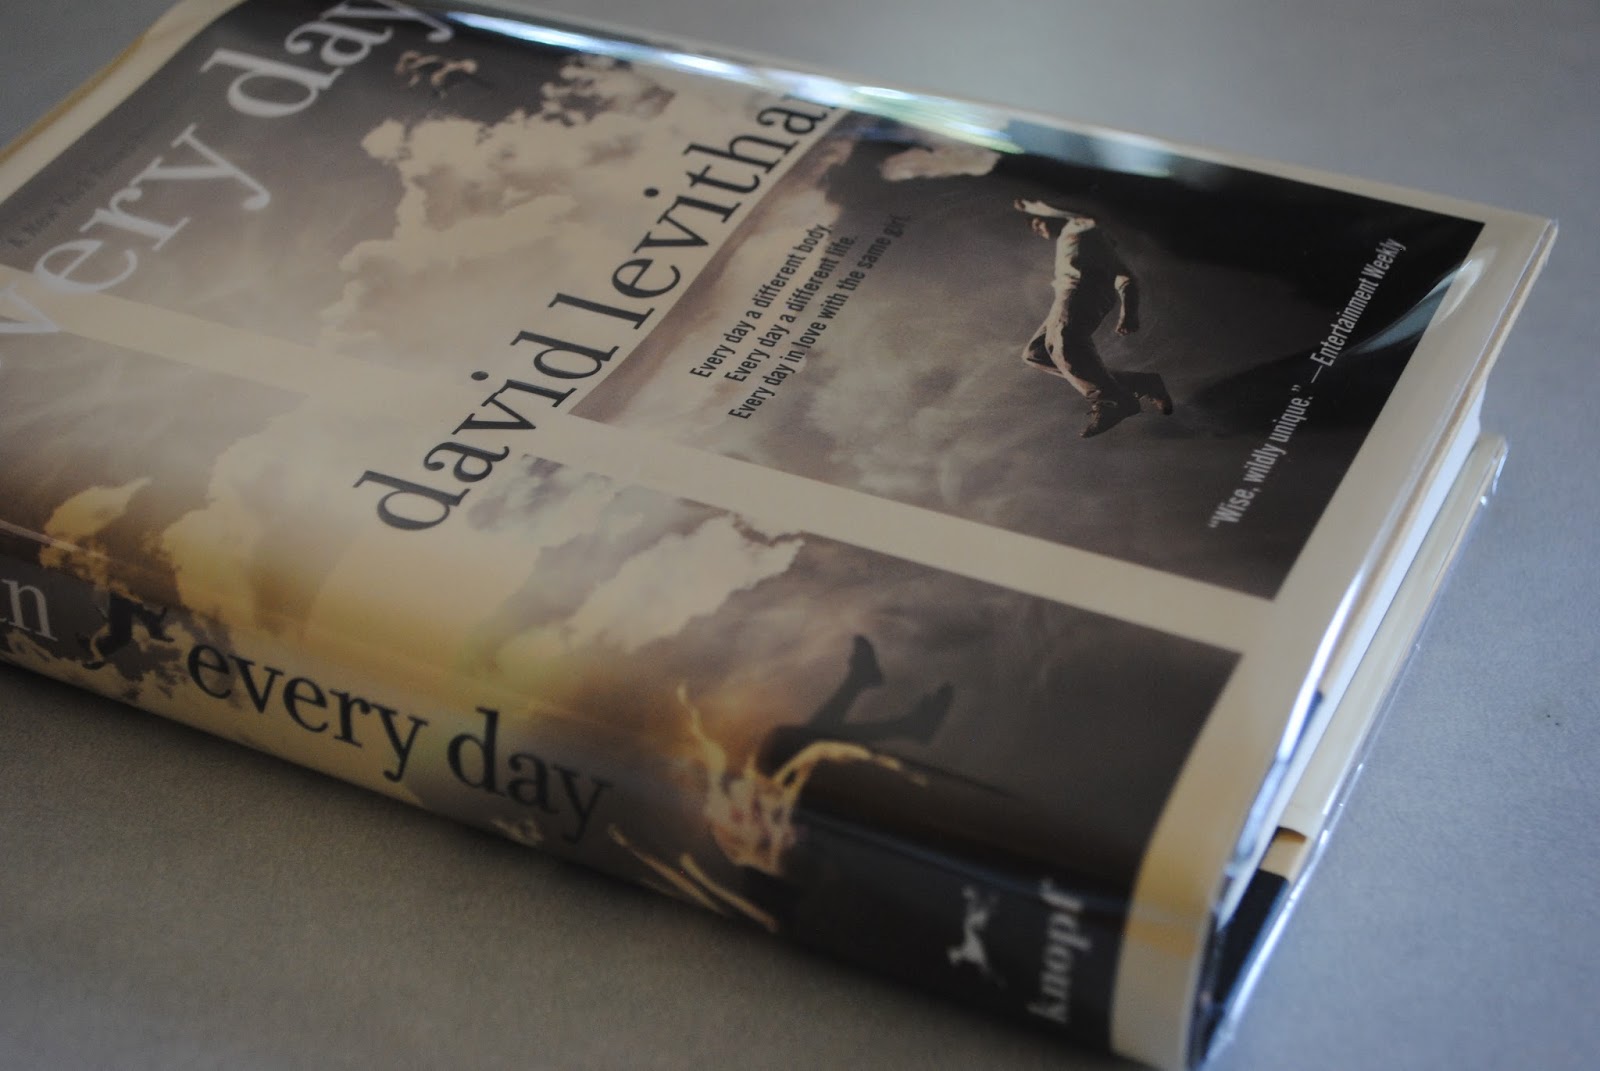 |
| As you can see, the final result is a nice, glossy finish |
As you could probably guess from the picture at the beginning of this post, I had quite a lot of books whose dust jackets needed these protective sheets, and thankfully I had enough sheets for each book with plenty left over. So, in all their glory, here they are:

What I also hope showing these various books conveys is exactly what I mentioned earlier in this post: that these sheets will protect an array of different dust jackets, of all sizes and textures. I'm so happy to now have all of these wonderful books sealed and covered so that I may read and enjoy them for years to come... and they look so much nicer sitting on my bookshelf!
Well, I hope you enjoyed this tutorial! This was really my first tutorial post I've ever done, so I hope it was helpful and I hope it encourages you to want to purchase these handy dust jacket protectors for your own books. Feel free to leave a comment below with any comments, questions, or anything otherwise.
Until next time!
x Danielle


0 comments